Check out this post on upcycled Valentine's Day gifts from Love2Upcycle, featuring two Purple Clover products. Can you spot them in the collage?
Follow the link above to see where you can score each of these eco-friendly beauties!
Showing posts with label eco-craft. Show all posts
Thursday, February 14
Thursday, January 10
New Items in the Shop!
I added a few new upcycled pieces to my Etsy shop this week. Check out their fabulousness for yourself below!
![]() |
| Magnet Board in Pink Flower - made from repurposed wood floor tiles! |
![]() |
| Winter Coasters in Sage Green |
![]() |
| Magnet Board in Green Diamond |
![]() |
| Winter Coasters in Red |
Tuesday, August 14
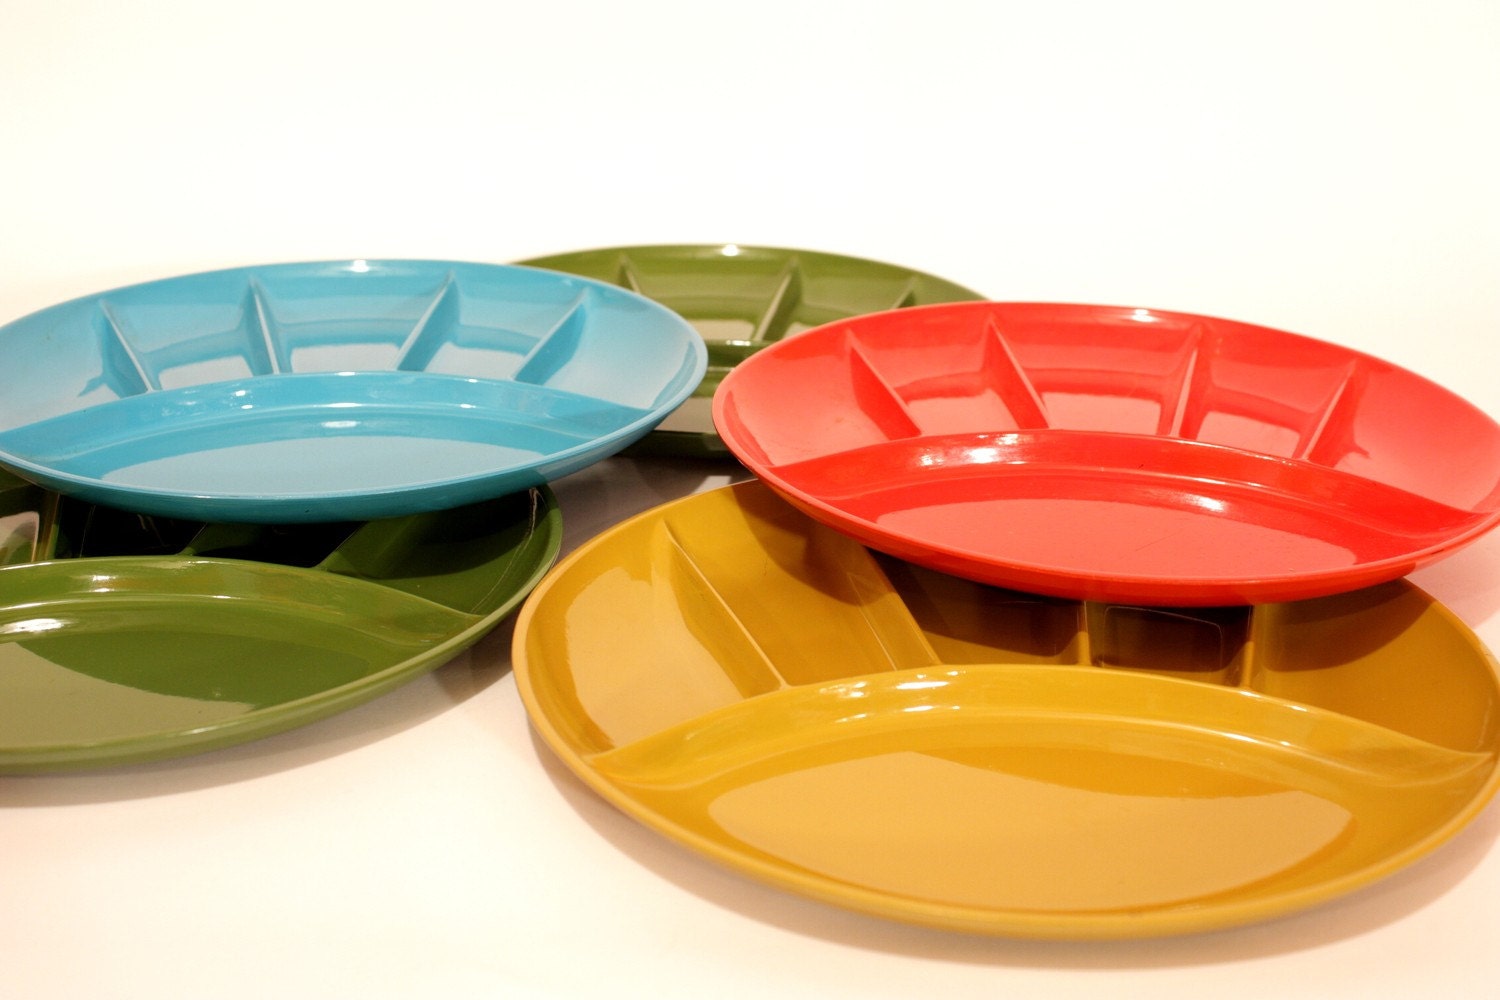
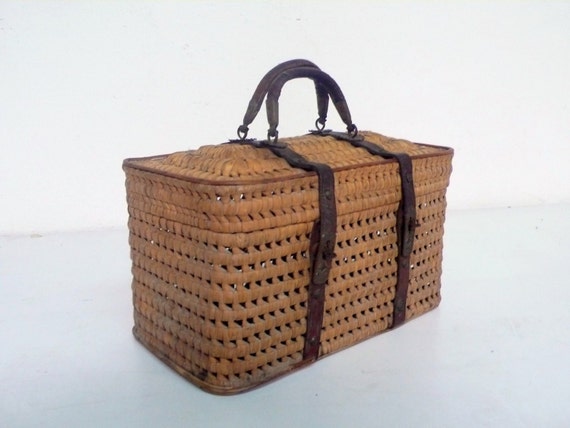
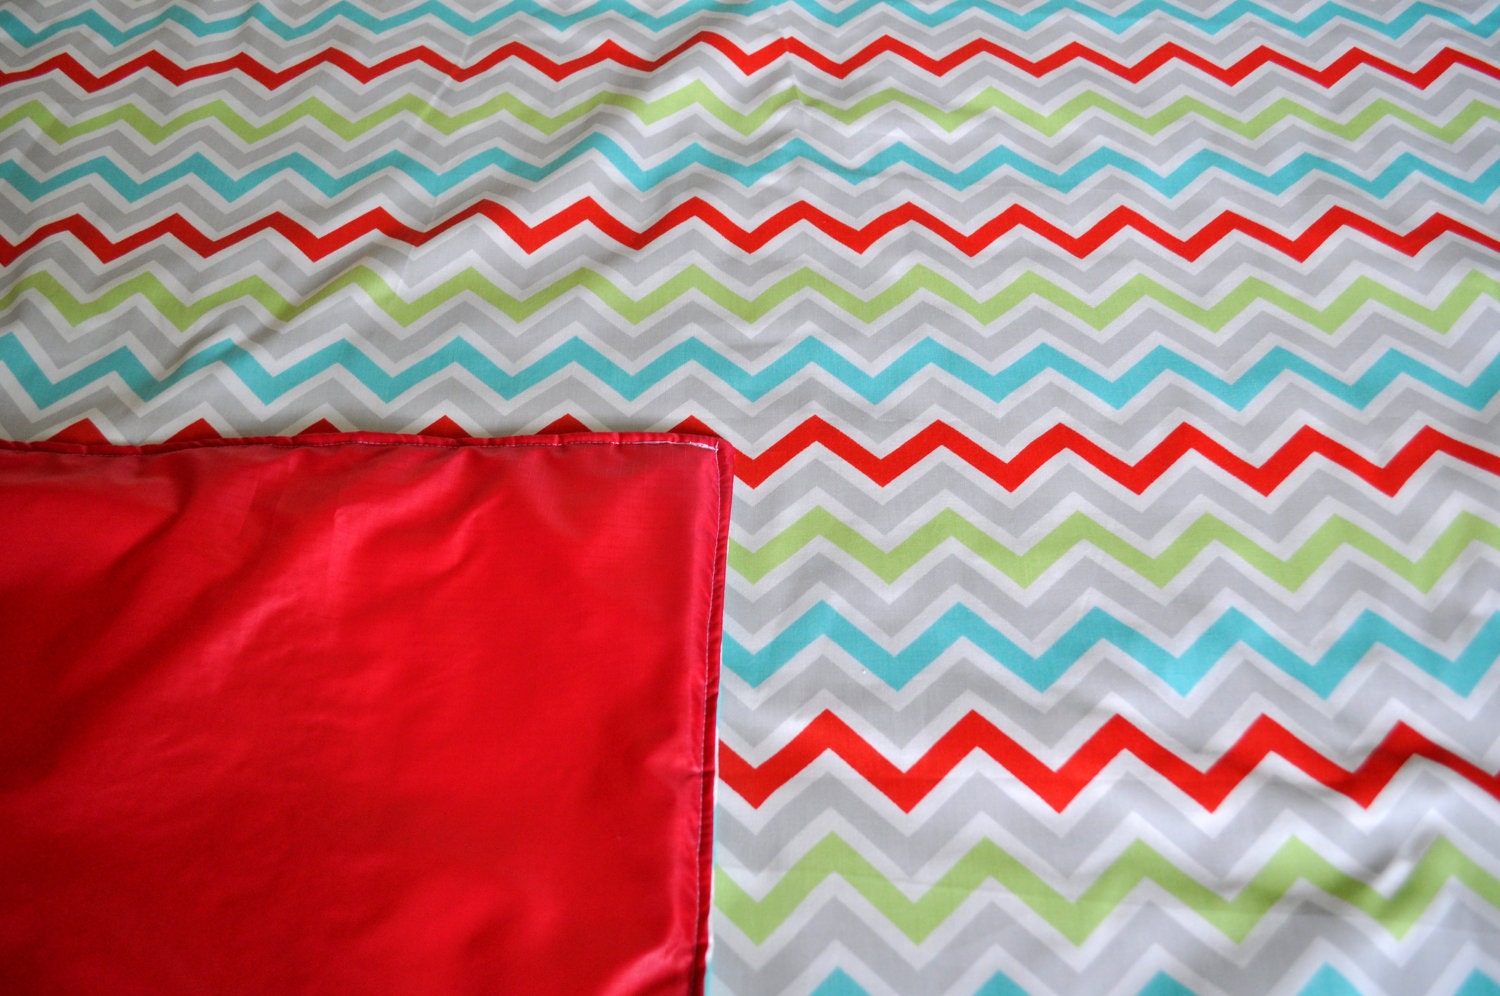
Fun Finds: A Retro Summer Picnic
There are still a few days of summer left, so enjoy them by picnicking in style with goodies from this collection of handmade and vintage picnic gear. Highlights are below, and be sure to check out the full collection on Etsy. Enjoy!
| Vintage Picnic Plates by krankyk |
| Antique Picnic Basket by DACAIS |
| Picnic Blanket in Chevron by LemonSqeezies |
Tuesday, July 17
Trash Can Be Beautiful
We hear about the garbage polluting our environment all the time, but seeing it can sometimes bring the message home. That's the idea behind these beautiful works of art made from trash found in the ocean. Check out more images at Earth911. Do they make you think differently about our pollution?
If you are in the DC area and have the urge to create your own art from discarded goods, check out Scrap DC's upcoming show at The Center for Green Urbanism. Submissions are being accepted through July 30. Or, if you are more of the spectator type, the show opens in September.
Thursday, May 24
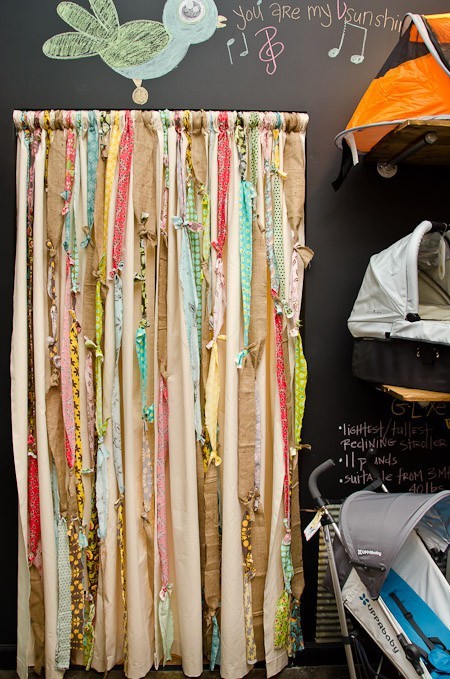
DIY IT: Shabby Chic Curtains
I love the shabby chic look of these curtains, and the best part is it's something you can easily recreate at home.
Step 1) Buy an inexpensive base curtain in a solid neutral color.
Step 2) Create the fabric strips by cutting strips from used or leftover fabric at least 1" wide. Try a variety of widths or just stick with one.
Step 3) Knot the strips together to create a strip the length of the curtain you chose.
Step 4) Attach the strips to the curtain either by sewing along the top, or to create a more natural look, cut slits near the top of the curtain for each strip, loop the strip through and knot around the curtain rod. I suggest using fray glue along the slit to minimize fraying.
Step 5) Enjoy!
Now I just have to figure out where I could do this in my apartment... :)
Tuesday, May 22
Lucky Penny Day
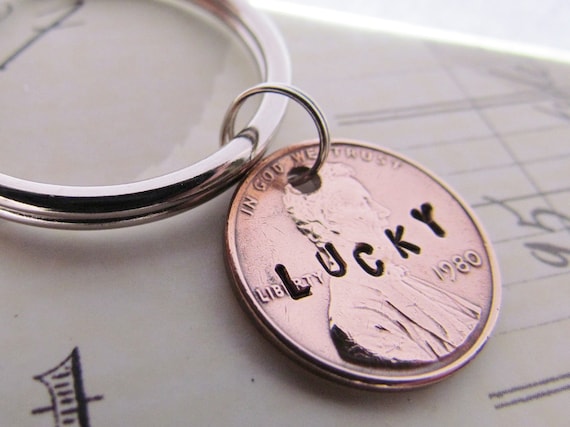
| Penny Keychain by AlwaysAMemory |
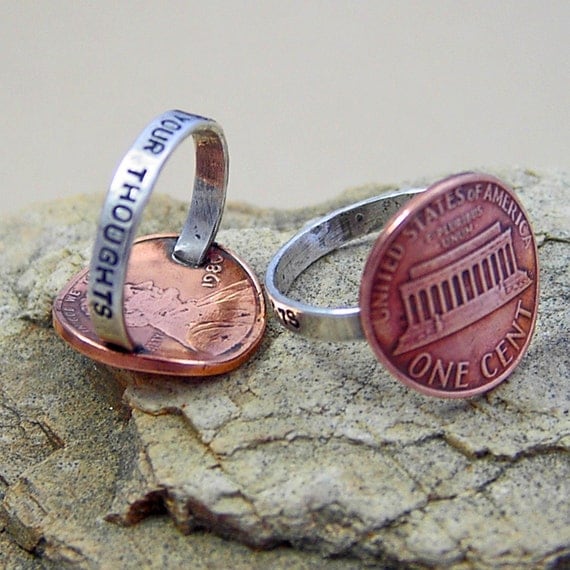
| Penny Ring by NinaGibsonDesigns |
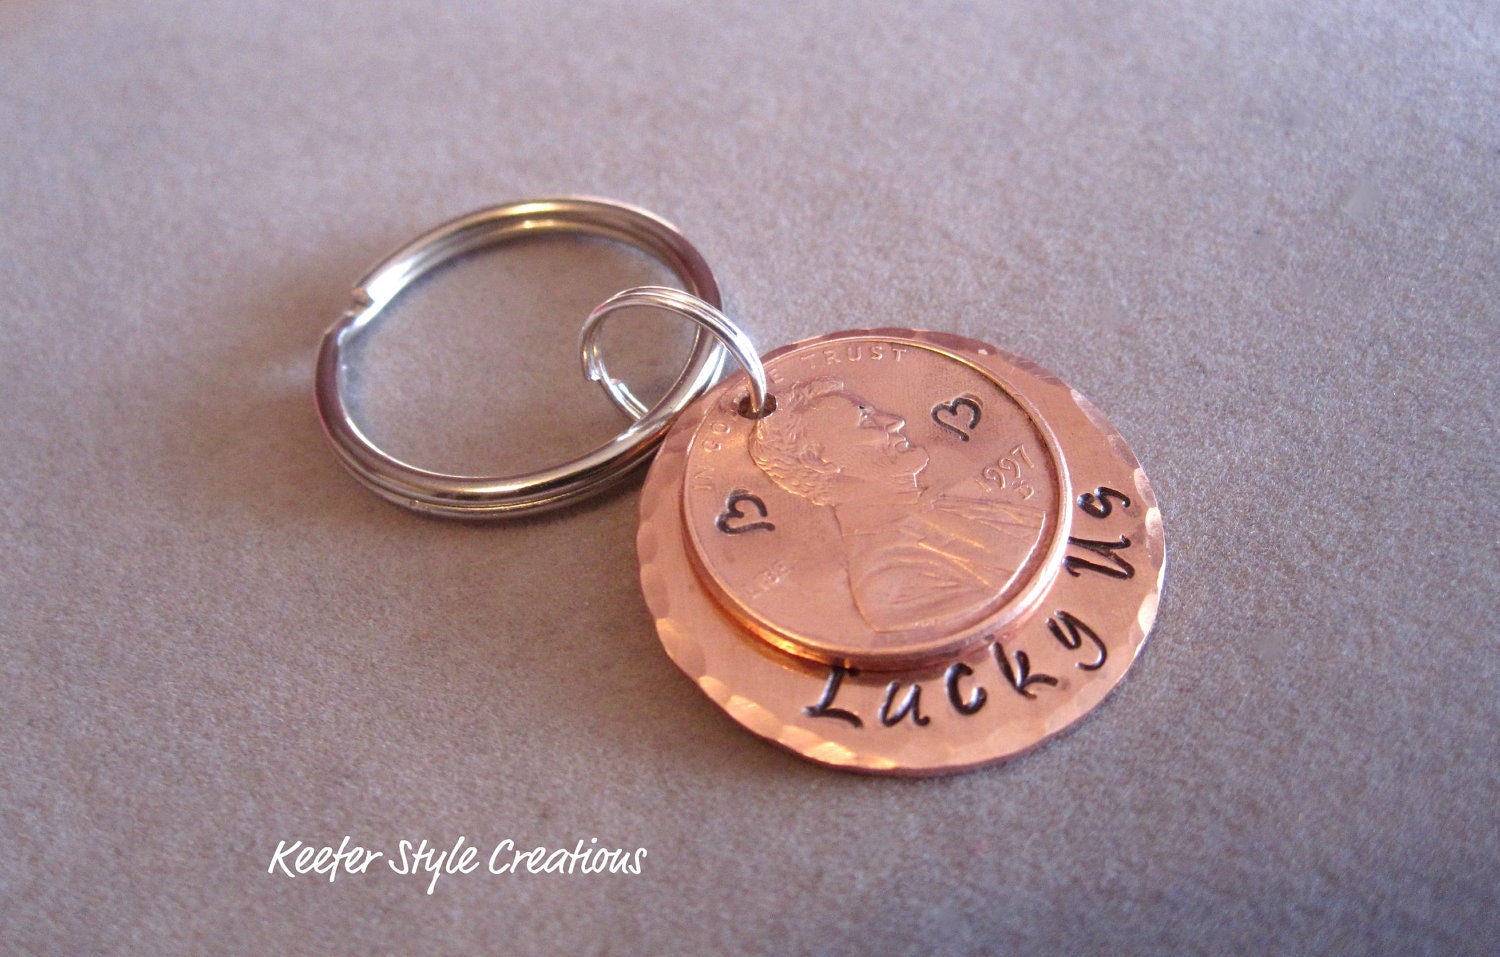
| Lucky Us Keychain by KeeferStyleCreations |
Monday, May 7
Sneak Peek From The Studio
Here's a sneak peek of what's new from Purple Clover! Look for these adorable magnets and their friends to be on sale in the etsy store soon!
Thursday, April 26
Repurposed Plant Stand
Looking for a unique way to display your soon-to-be-blooming plants? Before you run out to the store, look around your home - do you have any old pieces of furniture that are no longer needed or are showing signs of wear and tear? Use them! I recently took an old dresser that was no longer up to the task and with a few simple steps repurposed it into a plant stand. Just remove any existing hardware (in this case drawer gliders), sand and paint with an outdoor/waterproof paint. In one afternoon you could have a fun and functional new addition to your outdoor space!
Before...
After!
Tuesday, April 17
Sneak Peek From the Studio
I know it's been a bit quiet from Purple Clover this past week, but only because the studio has been a buzz with activity! Pictures from this weekend's Craft Attack event will be coming soon, but for now here's a sneak peek of the new upcycled goodies coming from Purple Clover!
Tuesday, April 10
Earth Day 2012 is Almost Here!
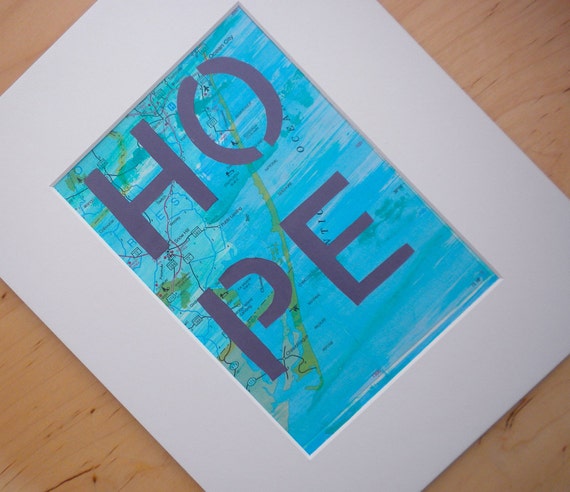
| Word Art Print from Upcycled Map by PurpleClover |
Earth Day is just around the corner on April 22! Need some ideas on how to celebrate or promote environmental awareness in your area? Check out ideas for green projects and links to local events at Earth Day Network. And for any local DC'ers, plan to start your celebration early by visiting Purple Clover at Craft Attack at NOVA Loudoun on Sunday, April 15.
Here's some Earth Day fun facts to impress your friends and help spread the word!
1) In 2009, the United Nations officially designated April 22 as International Mother Earth Day.
2) The idea of an earth day or earth week started in multiple cities in the United States in the early 70s, including San Francisco, Philadelphia and New York.
3) United States Senator Gaylord Nelson is credited with founding Earth Day. He promoted and held an environmental teach-in on April 22, 1970. Over 20 million people participated in earth day events held on that day.
4) There is an official earth day anthem, sung to "Ode to Joy". Click here for the lyrics.
5) There is an official ecology flag, originally created in 1969. It was popular throughout the 1970s, but today most Earth Day events opt to use their own logo.
Saturday, March 24
DIY IT: Cork Container
1) You'll need: an aluminum can (label removed), a roll of cork (must be a roll, the pre-cut squares aren't flexible enough. Remember the pins will only go in as far as your cork is thick), a glue gun, scissors, measuring tape (or ruler) and some ribbon. Got everything? Ok, let's get crafting!
2) Measure the height and circumference of your can with the measuring tape (or ruler and ribbon). Cut cork to fit. Tip: cut cork a bit larger than you need and then trim down the edges. You want the seam to match up, not overlap, even a little gap is ok.
3) Run a line of hot glue around the bottom of the can and adhere the cork, lining up the edge with the bottom. It's best to go in sections.
4) Keeping the bottom attached, gently pull back one side of the cork. Starting about an inch back from the seam, apply hot glue to can. Push down firmly on cork as you move forward, ending at the seam. Repeat on other side. Again, it's ok if the edges don't line up (as you see clearly mine do not!).
5) Cut one piece of ribbon about two inches longer than the height of your can. Turn can bottom-side up, and adhere about half an inch of the ribbon to the bottom at the seam joint using hot glue.
6. Run hot glue along the seam joint, firmly pressing the ribbon in place as you move up the can. Adhere the extra ribbon to the inside of the can.
7. Cut another piece of ribbon about twice the circumference of the your can. Tie in a bow around the can. I chose not to glue this down so I could change out the ribbon in the future, but you can glue it down if you'd like.
8. And, we're done! This container makes a great pen holder in the office, utensil holder in the kitchen or make-up brush holder in the bedroom. Use it wherever you want to show off your crafty skills!
Thursday, March 15
DIY IT: Layered Candles
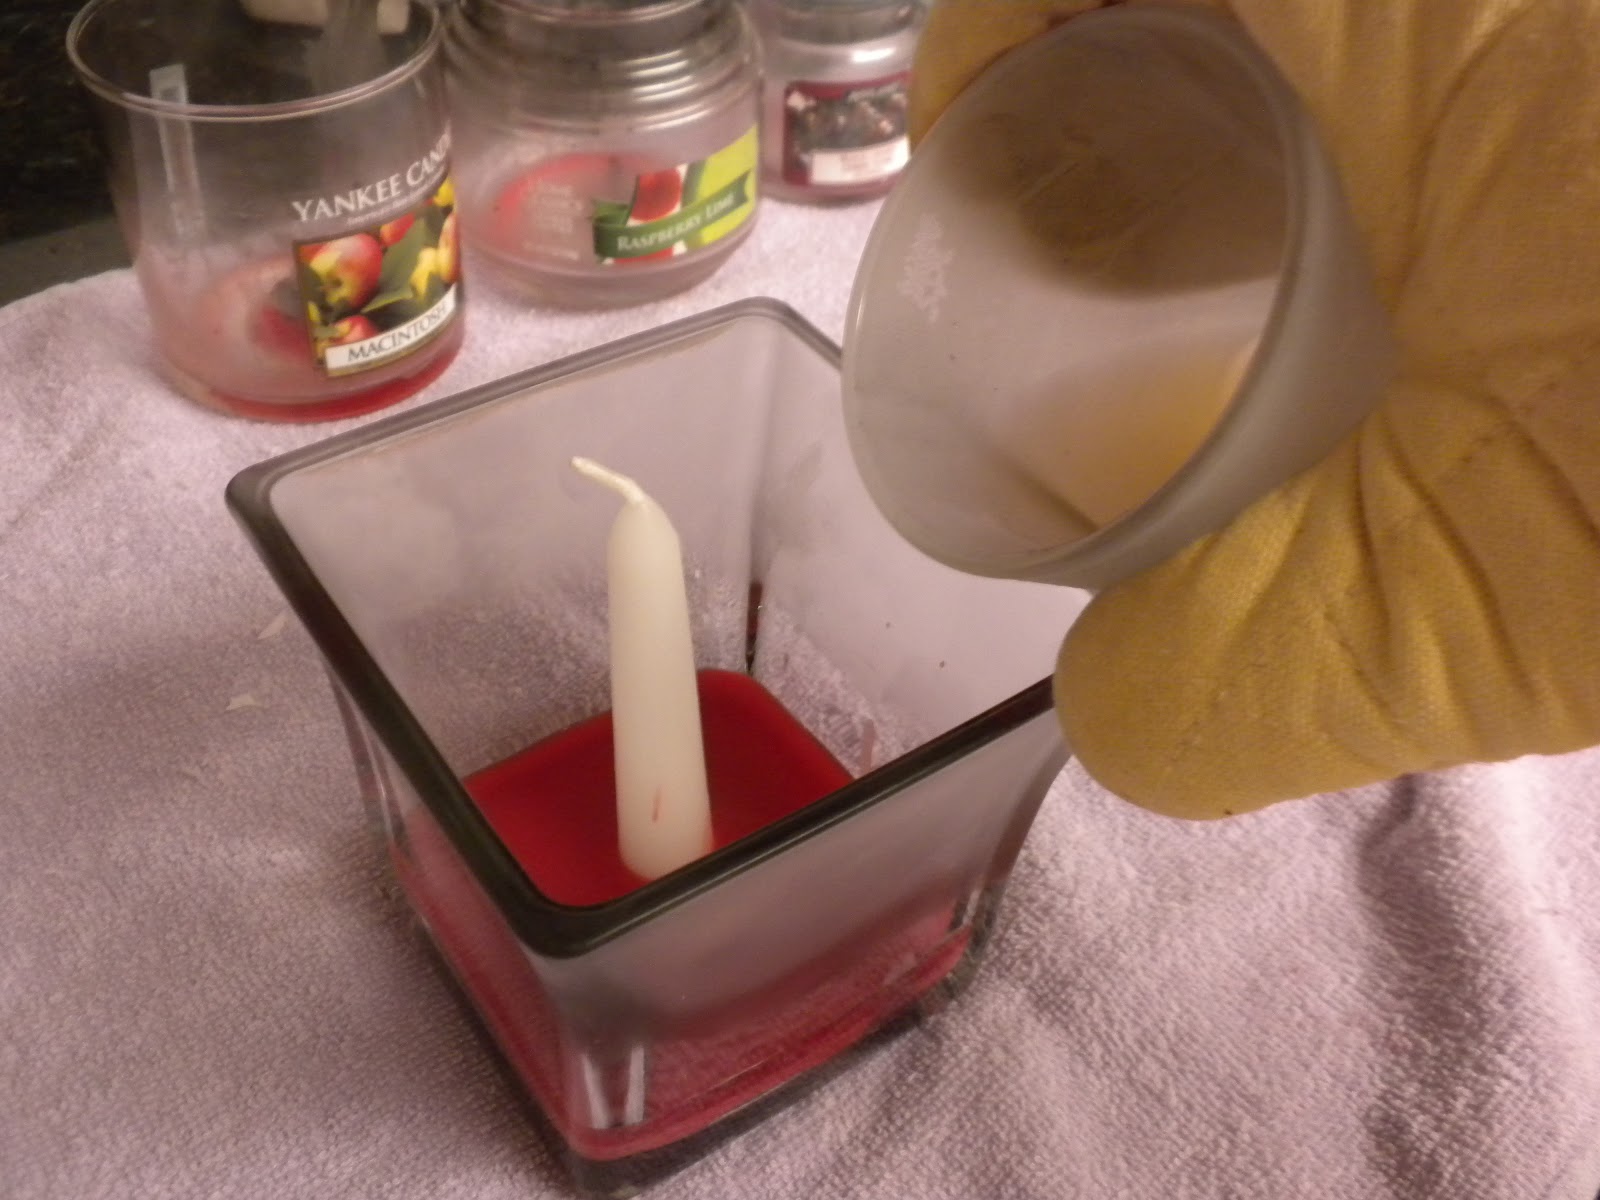
Our celebration of National Craft Month continues, with these beautiful (and upcycled!) layered candles. Be warned - this DIY is easy but not the quickest. Set aside around an hour (depending on the number of your candles) for this project. And, get ready for a side bonus - your kitchen will smell amazing while you're working! In addition to the used jar candles (I know you have a stash of nearly-used candles hiding somewhere in your house) , you'll also need an unscented pillar candle and a empty (clear is best) glass jar. So pick those up, empty out your shelf and let's get crafting!
1. Gather up your candles, the glass jar and the pillar candle. Then boil a pot of water - you want to make sure the water level doesn't rise higher than your shortest jar candle.
2. While the water is warming up, look over your used candles and decide how you want to layer your scents. I went for a mishmash of scents, but if you wanted you could a food-themed candle (using all the remnants of your fruit- and desert-scented candles), a winter-themed candle (using all the remnants of your holidays-scented candles), etc. You get the idea. The key is to decide before you start getting into the project.
3. Take your pillar candle, and with an exacto-knife, cut it to the height of your glass jar. If you know your used candles will not fill the new glass jar completely, estimate what you think will be the final height - it's a good idea to go a bit longer than you think, just in case.
1. Gather up your candles, the glass jar and the pillar candle. Then boil a pot of water - you want to make sure the water level doesn't rise higher than your shortest jar candle.
4. By now your pot of water should be going strong. Turn down the heat so it's just above a simmer. Using tongs, lower your first candle into the water. Leave it there until all of the wax has melted into liquid. How long this takes will depend on how much wax was left in the candle. Once all of the wax has melted, remove it from the water using your tongs.
5. Holding the pillar candle in the center of the jar with one hand, use the other to gently pour the liquid wax into the jar. You may want to gently shake the jar to ensure an even layer.
6. Repeat steps 4 and 5 (minus holding the pillar candle) until you have gone through all of your used candles. You may want put the new candle in the fridge or freezer between layers to help speed up the drying process, particularly for an extra thick layer.
7. That's it! Break out the lighter and enjoy your new multi-scented candle!
Tuesday, March 13
Plant A Flower
| Upcycled Homco Wall Flowers by BeautiSHE |
Did you plant a flower yesterday? I hope so, since it was National Plant A Flower Day! I confess I didn't. But I'm hoping to score some points back with Mother Nature by sharing my favorite gardening website/book/gruru: You Grow Girl. In my neck of the woods it's still a bit early to think about gardening, but it's never too early for a little inspiration. Whether you're dreaming about rose blooms or actually getting some dirt under your fingernails, here are a few of my favorite You Grow Girl articles (plus super cute matching handmade/vintage goodies!):
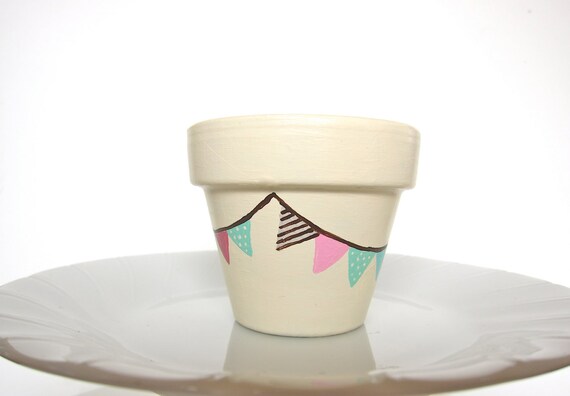
| Bunting Planter by oneeyedog |
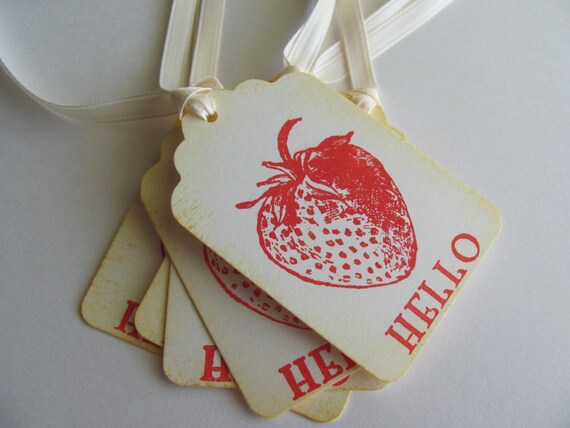
| Vintage Strawberry Gift Tags by AubreeLane |
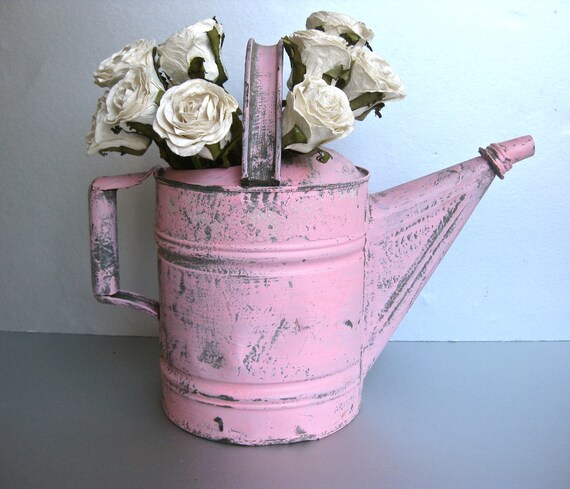
| Vintage Pink Watering Can by Swede13 |
Saturday, March 10
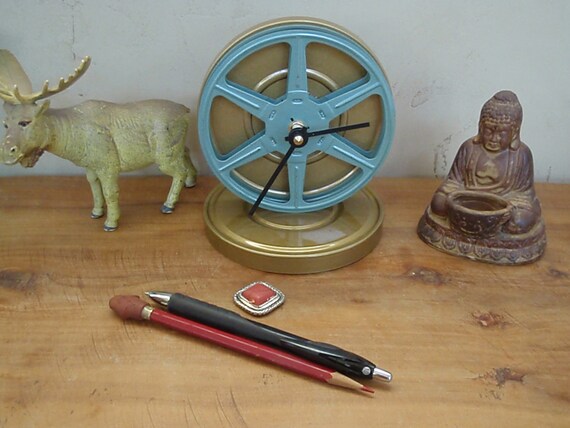
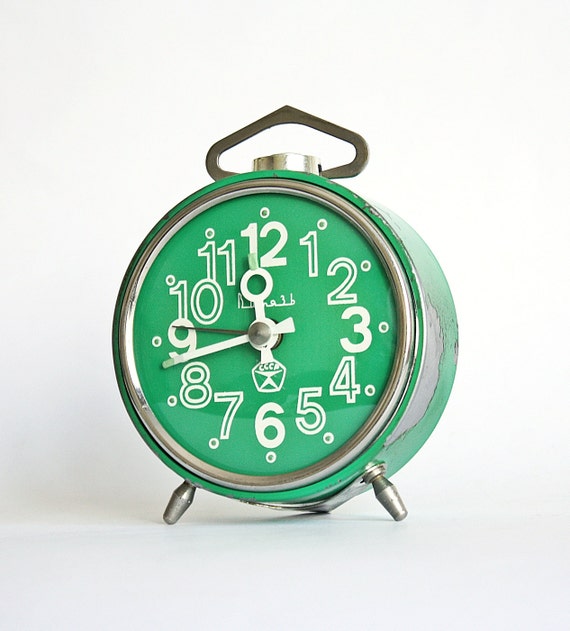
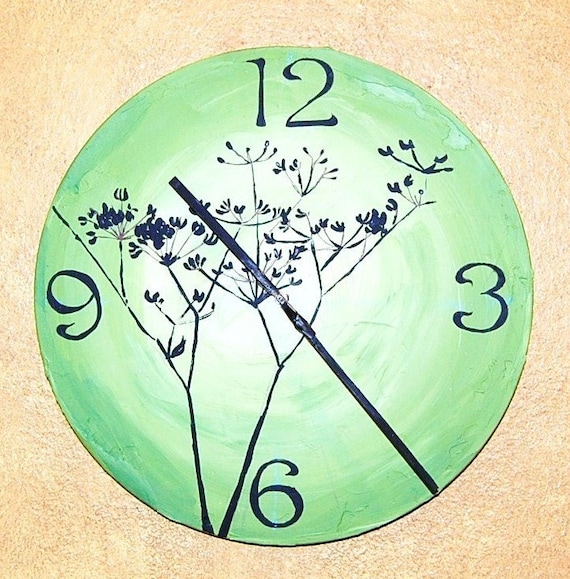
Fun Finds: Clock Love
Since tomorrow marks the start of Daylight Savings Time (for those counties who observe it), I thought we'd take this opportunity to showcase some fun and funky timepieces...aka clocks. All pieces featured are vintage or upcycled. Highlights are below, and be sure to check out the full collection. Enjoy, and don't forget to move your clock, whatever it may look like, forward tomorrow!
| Movie Reel Clock by Iahaine |
| Vintage Mechanical Alarm Clock by ClockWorkUniverse |
| Queen Anne's Lace Clock from Upcycled Vinyl Record by JessilynJoy |
Thursday, March 8
DIY IT: Double-Braid T-Shirt Bracelet
1. Cut a strip of fabric 1 1/2 - 2 inches wide. The length isn't super important, since you'll be cutting off the excess at the end, but at least long enough to fit around your wrist plus about an inch.
2. Take your strip of fabric and make five snips at one end, at equal internvals apart. The idea is to have six strands.
3. Cut along your snip marks to the opposite end, leaving at least 1/2 inch uncut. Then safety pin the uncut end to a pillow or anything else to stabilize the bracelet while you work.
4. Tug on the individual strands to roll-up the edges. This will make the strands easier to handle while braiding.
5. Take the three strands on the left and start braiding! (Pull the third strand over the second, the first strand over the third, the second one over the first and so on.) Leave at least 1/2 inch unbraided, and either tape or safety pin down the loose ends.
6. Repeat on the right side.
7. Carefully remove the tape/pins from all three ends and knot together. Remember the fabric is stretchy, so you don't need to allow extra length for getting the bracelet on and off your wrist. Trim the ends, and you're done!
Subscribe to:
Posts (Atom)